The stepchild of #sarahsdailydiy on Instagram

DIY Nailpolish Irish Clovers

Just in time for St. Patrick’s Day! These little clovers will get you in the lucky spirit.

You’ll need:

  • wire (go with a medium gauge) I used a smaller gauge wire, but I’d recommend using a thicker gauge than mine, which was jewelry wire.
  • wirecutters
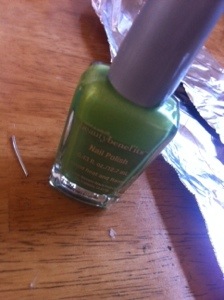
  • green nail polis (dollar store version work best, you’ll need a lot
  • small plastic plate/bowl or foil (to make your own bowls)

20140306-214917.jpg

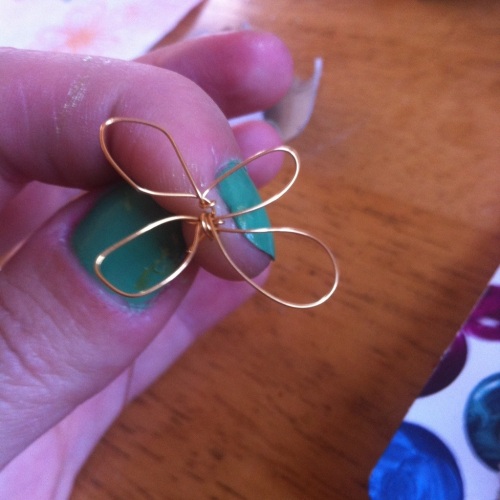
Take your wire and form it into a little clover shape. I started with one petal, and added two or three more, and then the stem. Make sure all your petals close fully, or the nail polish won’t fill it in.

20140306-214932.jpg

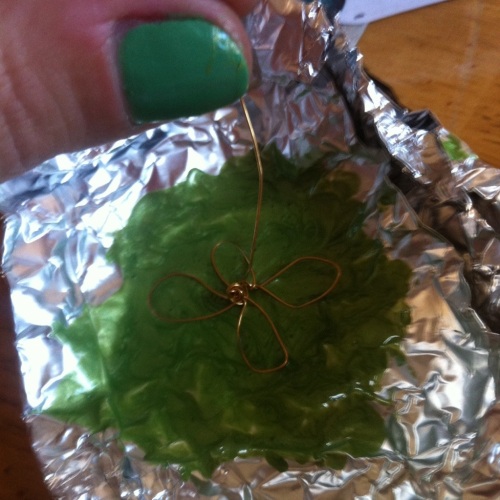
Pour out some nail polish into your bowl, and dip the clover into it. Make sure you use enough nail polish to cover the petals. It’s kind of like filling in a plastic wand when you blow a bubble. But don’t blow into the nail polish because it will pop.

20140306-214943.jpg

20140306-214957.jpg

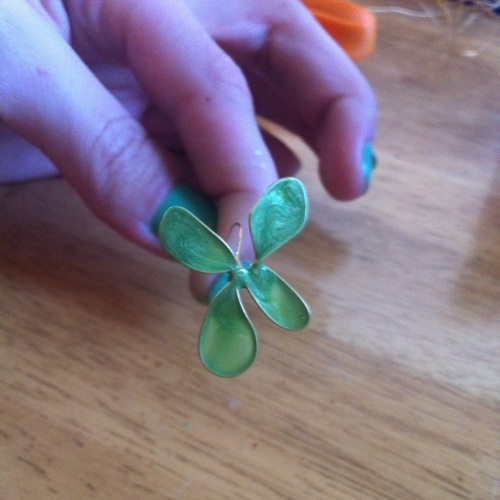
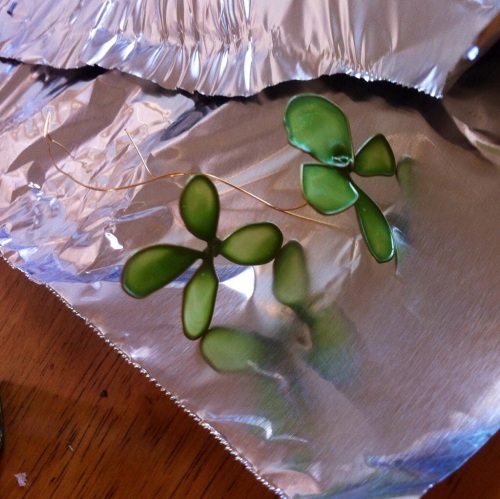
Once you’ve filled in your petals, gently spin the clover around until the polish dries inside the petal. If its really heavy and gloppy, you can turn it over and around so it’s not so thick in one place. If you think it looks fairly even and its getting close to drying, you can lay it on foil or wax paper and let it dry, or stick it in a bit of foam upright to dry.

20140306-215012.jpg

Once your clovers all dry, place them in a bud vase for St. Patty’s and enjoy a taste of spring!

Stay lucky!

Sarah

How to Make a (cheap!) Spring Terrarium

20140305-210519.jpg

I know this won’t be the most in depth how-to post, but lately terrarium decor has been all the rage and all the filler ideas I’ve seen have been kind of expensive. Such as buying real moss, real plants, or genuine antique goods to put under glass. So this post will mainly be to encourage you to decorate for spring, while saving rather than over-spending!

Here are some pointers:
1. Goodwill & The Dollar Store are your friends.
2. Paint can change everything.
3. Keep an open mind as your shopping- see the potential things might have.
4. Keep it simple.

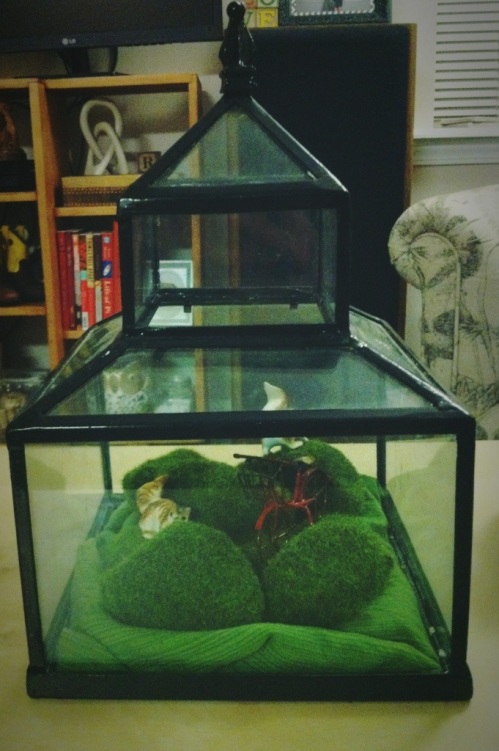
The most expensive thing you use in this set up might be your glass piece. If you don’t have a terrarium, you can still get the effect by using vases, mason jars, glass hurricanes or a glass fish bowl turned upside down like a klosche!

20140305-210555.jpg

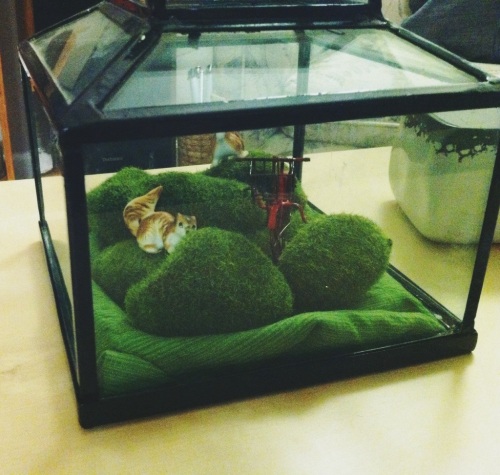
I chose to fill mine with a woodland themed scene.
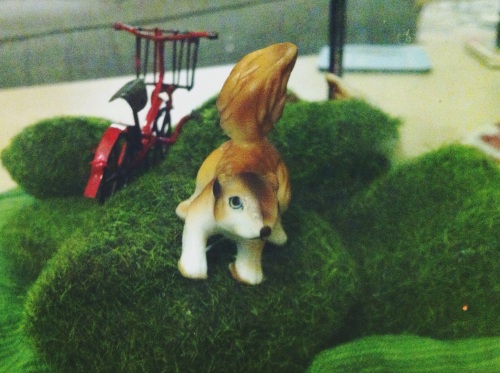
My items include: two ceramic squirrels from goodwill ($2), a small metal bicycle (I think it was originally a Christmas ornament) given to me as a gift, a green piece of cloth (already owned), and moss styrofoam rocks from The Dollar Tree ($1/bag of 5 rocks).

I covered the bottom of my glass house with the cloth, and then placed the moss rocks. The cloth makes it look more full. Then I just stuck the squirrels and the bike in the scene.

Keep an eye out for small items on shelves at goodwill that you can paint all white for your scene. I chose to keep these squirrels original because I love their coloring. Old knick-knacks can have a vintage/antique feel to them if used in the right setting with the right things.

You could use white fabric, river stones, eggs, small rabbit figurines, and a tiny bit of floral or greenery for a beautiful spring scene. The possibilities are endless!

20140305-210607.jpg

I love using things like terrariums in my decorating because investing (an investment for me was $6 for my glass house at a garage sale!) in a one time piece that can be used differently throughout the seasons.

20140305-210542.jpg

What will you fill your spring scenes with? 🙂

Happy decorating!
Sarah

Chalkboard Corkboard Upcycle

20140225-221759.jpg

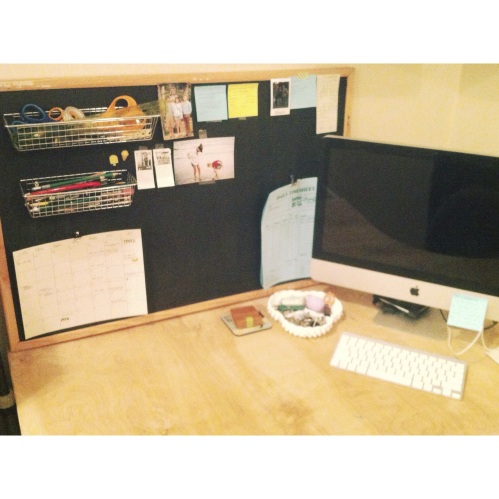
This project is incredibly easy. All I did was paint my old cork board with chalk board paint. I used a sponge brush for a more even coat. I wanted to achieve the “accent wall” idea for my corner office without painting a whole wall (we’re renters). I think this works… For now 😉

What makes your workspace special?

Sarah

Pairing a Bold Vintage Blazer

20140220-102836.jpg

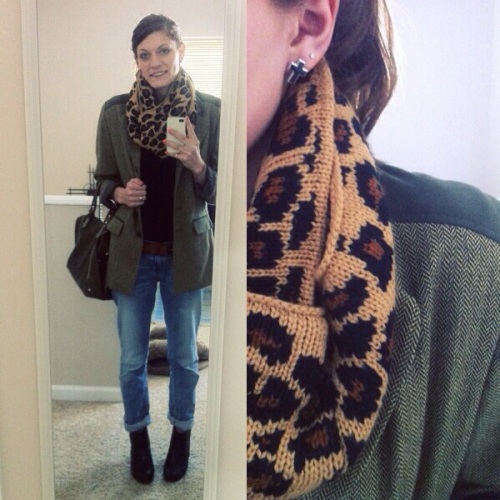
I found this awesome blazer at my favorite local thrift store. I paired it with a bold leopard scarf and a black tee and boyfriend cut jeans for work.

My tip: When mixing fun vintage finds, keep the rest simple. 🙂

  • Blazer, Vintage
  • Scarf, Betsey Johnson
  • Black V-neck, Target
  • Jeans, Hollister boyfriend cut
  • Boots, Kohls
  • Earrings, Forever21

Sarah

Ten Spring 2014 Fashion Trends to Try

Are you ready for Fashion Week?! I’m so ready to try some of these trends for Spring! Here are my top ten.

10. The Crop Top. 

aa0579b0ba3b755e11f85c1322908697I don’t want to bear my entire stomach, okay? But I really like the subtly of this one.

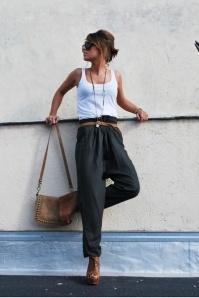
9. High-Waisted Baggy Pants

ee8f2c0e63b1e6f4ac95c4c7f2901fed340a7a932610e3ed5a45db466936106cThese look uber comfy to wear in the warmer months. I’ll take a pair in all the colors.
8. Floral!

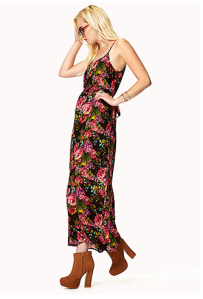
Screen Shot 2014-01-18 at 3.58.20 PMEverything on the runway was floral. This dress is available from Forever21 for $25.

7. The Classic Blazer

Pascal Millet Spring 2014

Pascal Millet Spring 2014

This is in style literally every season of every year. But I’m looking forward to trying it in new patterns and with shorts.

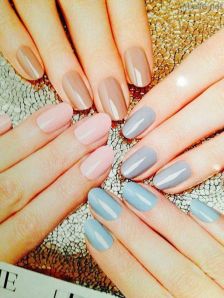
6. Pastel Nails

728003a57449a549c0eaded581514448

Essie’s new line is adorable.

5. Orange

20140205-144649.jpg

Lips, Nails, Jackets. It’s all here. How neon will you go?

4. Denim Overalls.

20140205-142352.jpg

The 4th grade me is screaming, “HOW could you do this?? Are you insane?! We’re never going back there!” But the 2014 self says… “Wait… These are cute. Maybe with this particular thing this particular way it might work again….” We’ll see, self.

3. Big Floppy Sun Hats

>20140205-143928.jpg

these hats aren’t just for the beach or the garden anymore. And more hats means less worrying about my hair! Yay!

2. High Waisted Skinnies

20140205-143446.jpg

I just like the look of these. I think the right fit could be flattering on many body types.

1. This Dress.

20140205-143640.jpg

Doesn’t this look like just the most comfortable thing ever? And Its perfect for back yard BBQs, tailgates, and summer picnics because no one will ever know how full your belly is :)!

I know we’re all ready for warmer weather. Hopefully this got you looking forward to the spring side of your wardrobe, and maybe gave you a few ideas of new pieces to try!

Love ya!
Sarah

Easy DIY Boho Headbands

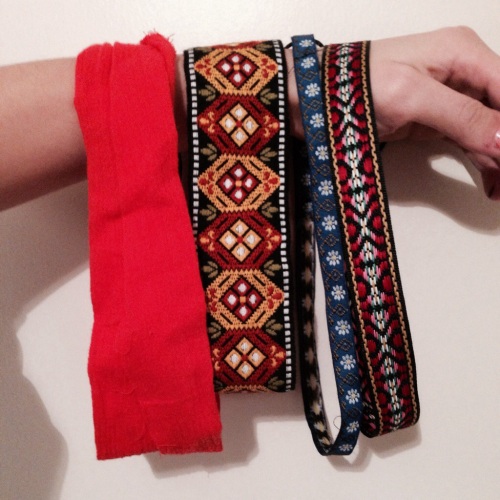
20140201-231310.jpg
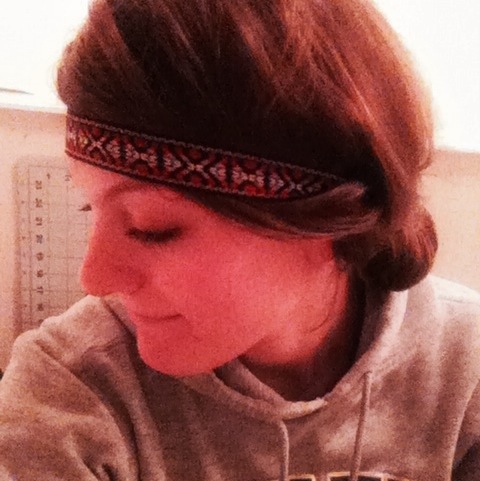
If you’re like me and you hate spending a lot of time doing your hair, these are for you. Super easy headbands from any ribbon or trim you want.

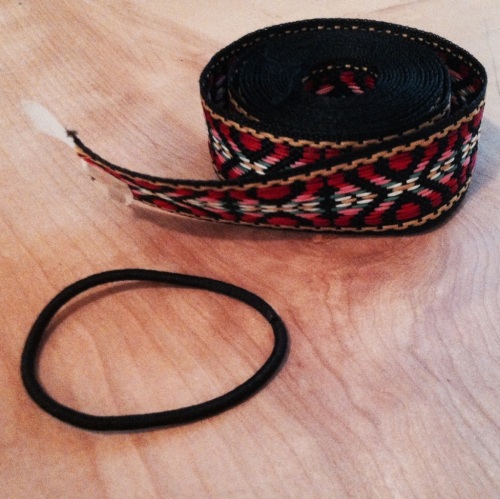
You’ll need:
• hair ties
• length of ribbon
• sewing machine or thread and needle

20140201-231232.jpg

First, use a measuring tape an measure the diameter around your head. Add an inch or two for your sewing and cut that length of ribbon. Think about if you want them tighter or looser and account for that. For example, if you want to wear it hippie style, with your hair down, maybe add a little more length.

I used embroidered ribbon from the clearance section of a fabric store, but you can use any length of satin ribbon, or even fabric. If you don’t want to hem the fabric, just roll or fold it and then sew the hair tie in.

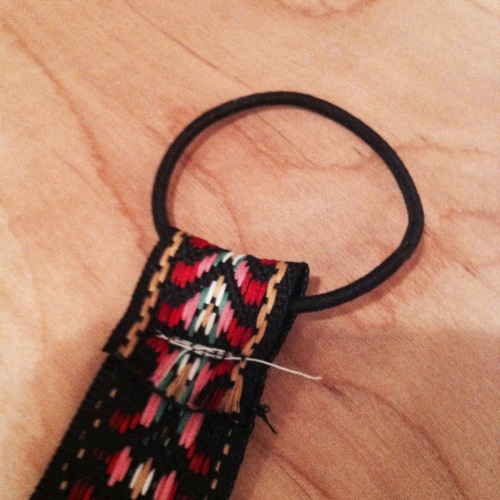
Next, slide your hair tie through a fold at the end of the ribbon and stitch the ends closed like this:
20140201-231246.jpg

Make sure you sew back and forth over the ends a few times so it won’t come unraveled.

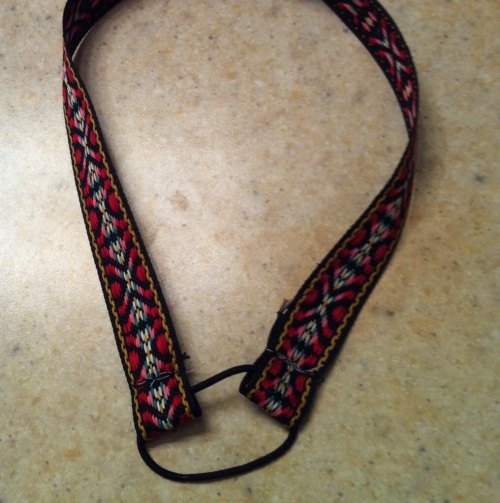
Measure again (with the ribbon and hair tie that’s already sewn in) around your head and decide where you want the other end of the ribbon to fold. I like mine fairly tight so they don’t fall off. Mark that spot fold it around the tie and sew.

20140201-231327.jpg

That’s it! Super easy. Yay!

20140201-231259.jpg

Sorry for my lack of posts lately; life’s been crazy!

Keep on keepin’ on!
Sarah

A Rustic Chalkboard

20140131-161839.jpg

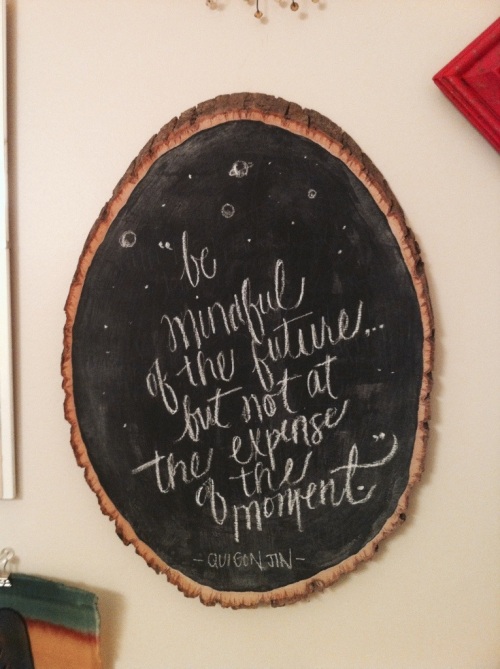
This project is quick with long lasting fun. I have made some of these as wedding presents for friends, and they’ve loved them.

What you’ll need:
• bracket hardware
• a hammer
• stump slice
• chalkboard paint

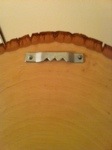
You can find a sliced stump like the one I used at Hobby Lobby in their wooden crafts section, for just a few dollars. Before you paint, attach the bracket hardware to the back of the wood, near the end you choose for the top and in the center (It doesn’t matter if it’s extremely precise because the wood isn’t a perfect circle anyway 😉 ).

20140131-161849.jpg

To apply the chalkboard paint, I used a foam brush to get the flattest and most even coat. Sometimes brushes leave streak marks and I didn’t want a bumpy surface for my chalkboard.

I liked leaving a little bit of wood on the edge, but you could paint to the edge if you wanted.

Once the paint is dry, use a chalk pencil or a regular piece of chalkboard chalk to write quotes or draw pictures to your hearts content.

A Helpful Hint: when erasing, start with a damp cloth, then dry. If you use a paper towel, the wood texture tears it up and leaves little dusty pieces all over.

Happy doodling!
Sarah

DIY Jewelry Display

I received a few new beautiful necklaces for Christmas and I really wanted to have a pretty way to display them- for cheap 😉

I used all items I already had, so this project cost me $0! Yay!

What you’ll need:
• a piece of wood (you could use anything you already have on hand, I used a 1×4″ piece about 12″ long)
• sandpaper
• 12 white hooks (you could also use thumb tacks)
• paint, paintbrush
• picture frame brackets and nails
• hammer
• drill and tiny drill bit (if you’re using hooks)

First thing you want to do is measure the center of your wood piece. Mark it, and then divide each half in half. So mark your two centers. These will be where you attach your brackets. You need two so it doesn’t go all uneven when you hang your necklace on one side.

20140122-224250.jpg

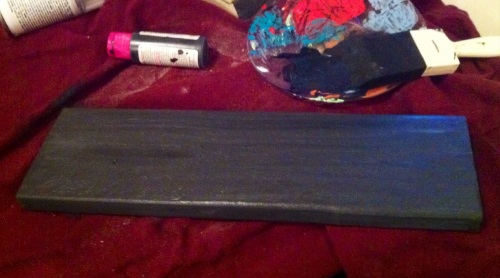
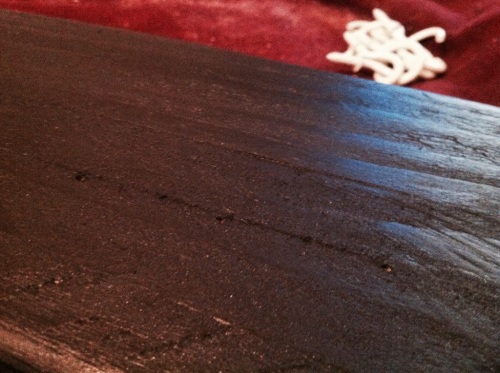
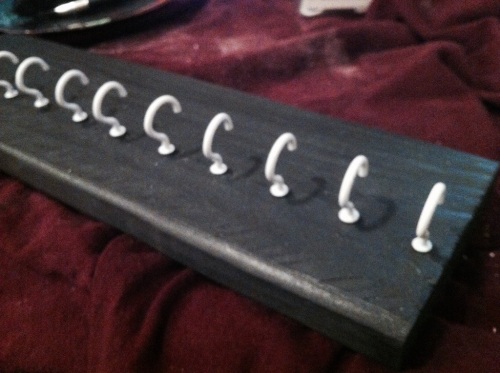
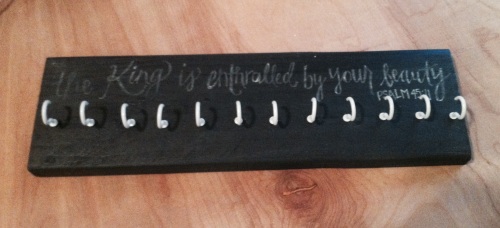
I had my wood already sanded and painted, but if you wanted, it would probably be easier to paint it after you drill your holes. So with my wood ready, I took my tiniest drill bit and drilled holes in a straight line all along my wood exactly 1″ apart (mark them with a pencil first! 🙂 ). Drilling makes it much easier to twist the hooks in.

20140122-223913.jpg

20140122-223929.jpg

20140122-224016.jpg

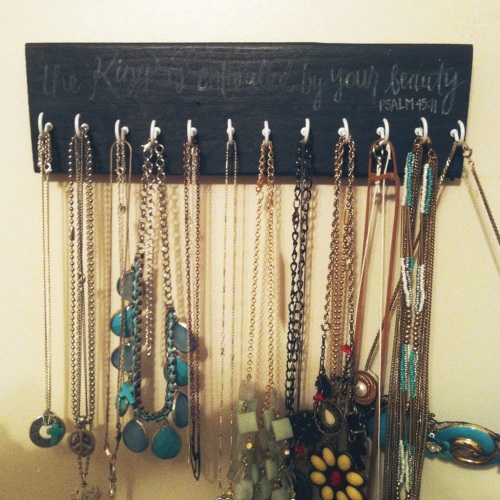
I designed this display with room at the top to write a quote. I chose Psalm 45:11 and penciled it out first to make sure it would fit like I wanted. Then I went over it in a white chalk pencil. Even though I didn’t paint it in chalkboard paint, you could definitely do that!

Once you’ve got your brackets on, holes drilled, wood sanded and painted, hooks in, and (if you want) quote written, you’re ready to hang it up! Display your favorite necklaces with pride on your new jewelry display!

20140122-224055.jpg
20140122-224238.jpg

Stay beautiful!
Sarah

DIY Puppy Booties

If you’re a human being and you live in the Midwest you know what I mean when I say it’s so cold outside right now that you literally get an instant brain freeze just from breathing.

It’s no different for my pup. But she’s gotta walk in it without boots. And today, she’d finally had enough. She picks up her tiny little paws and starts to cry because it’s so cold! I tried everything, putting a cloth outside, putting a potty pad inside, until my hubs just said- why don’t we make her boots of some sort! We’d looked at dog boots in the past, but they are so expensive! And it wasn’t this cold then.

So in dire need, I’ll show you how I made these little puppy boots.

20140122-162951.jpg

20140122-143651.jpg

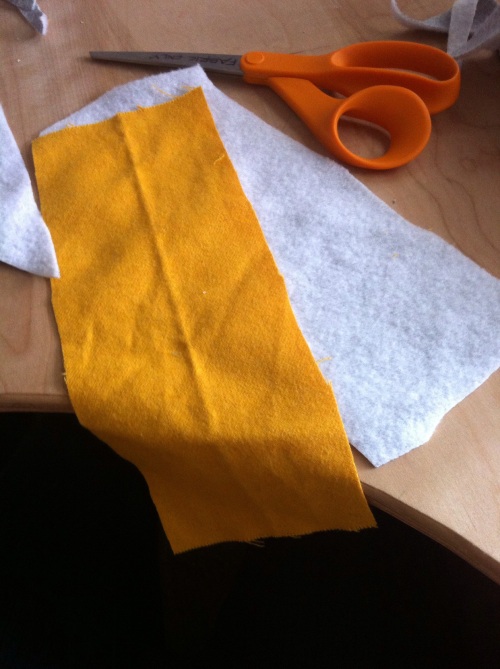
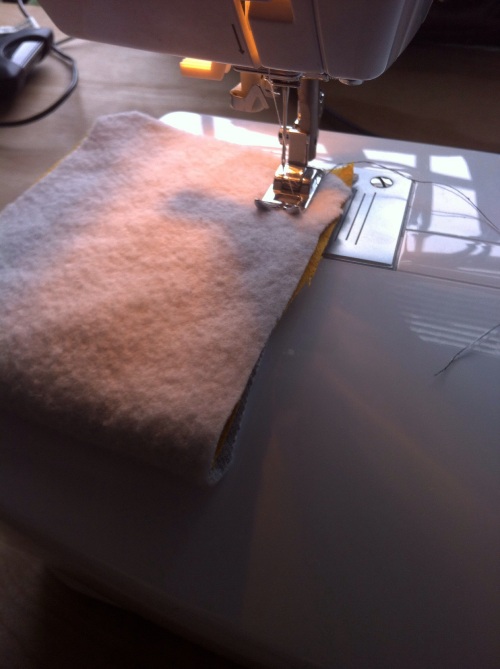
First, find the most water-resistant fabric you have. I used a scrap of old yellow wool blend. Since it wasn’t very thick, I lined them with fleece.

20140122-143802.jpg

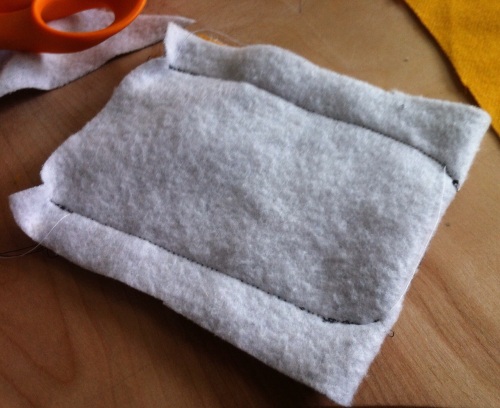
To line boots, take your two pieces of fabric and fold in half; the fold along the bottom will be the base. Sew with your liner fabric on the outside, and your outside fabric facing the inside. Leave enough room for a seam. After I measured my dogs paws, I figured I’d need about four inches of fabric. I cut 4.5″ wide and about 8″ long. If your dog has bigger feet, you can make these as big as you need.

20140122-143926.jpg

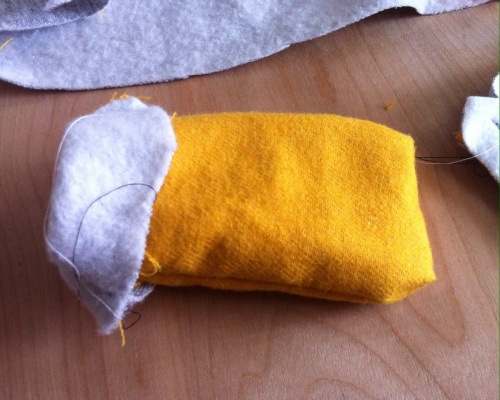
I stitched the two pieces together to create the little bag shape. I rounded the bottom a little bit to better fit her paw.

20140122-143704.jpg

I decided to just leave the tops raw, but if you wanted you could hem them or fold them over and hem them down.

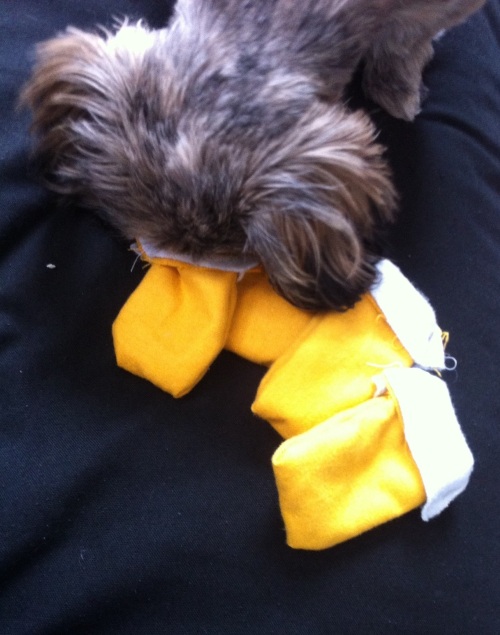
Then I flipped the booties inside out so the wool was on the outside and the fleece was inside. For sake of time, and lack of a better idea at the time, I used four hair-rubber-bands to cinch the tops around her legs. Not too tight, but enough so that she couldn’t shake them off right away.

It was quite a sight to see her try to walk… She looked a little like a new duckling with the yellow flappy feet! But I was glad to see that the boots stayed on long enough for her to not freeze her toes while she did her business. They did fall off as she ran back to the door- but she didn’t freeze!

Now she just wants to chew them up, but I think we’ll definitely use them again!

Stay warm!
Sarah

20140122-162914.jpg

20140122-162932.jpg

How To Host a Closet Swap

Image

The after Christmas dull-ness creeps up slowly in January. But it hits us all hard in February. Gray, chilly days, with spring break still a long way off. Here’s an idea to brighten the gray months!

Host a Closet Swap! 

What is a closet swap? It’s basically a party where a bunch of your friends come over with their old clothes and junk, and you pull out a bunch of your old clothes and junk, and you all trade. Anything that doesn’t get taken gets donated to charity! So fun, and so free!

Step 1:

Clean out your closets! You just got some nice new stuff for Christmas, why don’t you get rid of that weird shirt you never wear. It’s nice, just not the right shape for your body. So put it in the Swap Pile! Those candles you got on clearance but never used? Swap Pile! Really anything you feel like you would normally donate to Goodwill, start making a pile for your party!

Step 2:

Tell your friends to do the same! Send out an invitation, even one through Facebook message, and let them know whats up. This way, they can start to think about things they might not want anymore, and start a Swap Pile of their own.

Step 3: 

Pick a pretty open room for your party. People are going to be bringing lots of things, and you’ll want a place to lay everything out nicely. Whether its on the couch or the dining table, just make sure that its not just in a clump on the floor- People will want to see what others have! Also, have a room available with a mirror for guests to try things on, such as a small bathroom. 

If you want to, prepare some light snacks and/or drinks. Ask your friends to bring something if you want to have a pitch-in!

Step 4: 

Count your guests, and give everyone a piece of paper with a number on it. This step is similar to a White Elephant Gift Exchange. Guests will go in order of their number, and each guest will pick one item. After the first item has been picked, do the numbers again, but in reverse order (I.E. 1 through 10, 1 would go first in the first round, and 10 would go first in the second round, immediately following her first turn). Do this as many times as you want to, but its not necessary for the whole time. In the past, when I’ve hosted, we’ve used this number technique for the first two rounds, then every body has two items they really like. After the first two rounds, it becomes a free-for-all grab. Pick it up, try it on, keep it, or toss it back. Be open to trading with other girls too!

Step 5 (optional): 

This is just an extra for fun! When each guest picks an item, make her put it on! Jeans? Under her skirt. Dress? Over everything. Necklace? Easy. Shoes? Go for it! This makes it fun to see what everyone has! And it makes sure that no one else can grab that item. Make sure to take pictures of each guest in their final multi-layered wardrobe!

If you don’t want to do this, just have designated piles of grabbed items for each guest. 


After things have settled down, and theres a small pile of items left that no one really wants, put those items in a box or bag and donate them to a local charity or Goodwill. 

Hosting a closet swap is a fun way to gain a few new-to-you items for your closet, while not spending a penny. And it gives you and your girlfriends an excuse to get together and do something besides paint your nails or watch another movie 🙂


I’d love to hear your stories! Have fun swapping!

Sarah